Imagine a world where your walls can become a canvas for your brightest ideas, a place where brainstorming sessions happen spontaneously, and your to-do lists transform into interactive art. What if you could turn any smooth surface in your home or office into a giant, erasable notepad? That’s the magic of dry erase board paint, and it’s more accessible than you might think!
But let’s be honest, picking the perfect dry erase paint can feel like navigating a maze. So many brands promise the best, but how do you know which one will truly deliver a smooth, easy-to-erase surface without streaks or ghosting? You want a paint that’s durable, safe, and actually works as advertised. You’re probably wondering about application, cost, and how to get that perfect, clean wipe every single time.
Well, get ready to unlock the secrets! In this post, we’re going to break down everything you need to know about dry erase board paint. We’ll explore the different types available, share tips for choosing the best one for your project, and even offer advice on how to apply it like a pro. By the end, you’ll feel confident and ready to transform your space into a functional and fun dry erase zone.
Our Top 5 Dry Erase Board Paint Recommendations at a Glance
Top 5 Dry Erase Board Paint Detailed Reviews
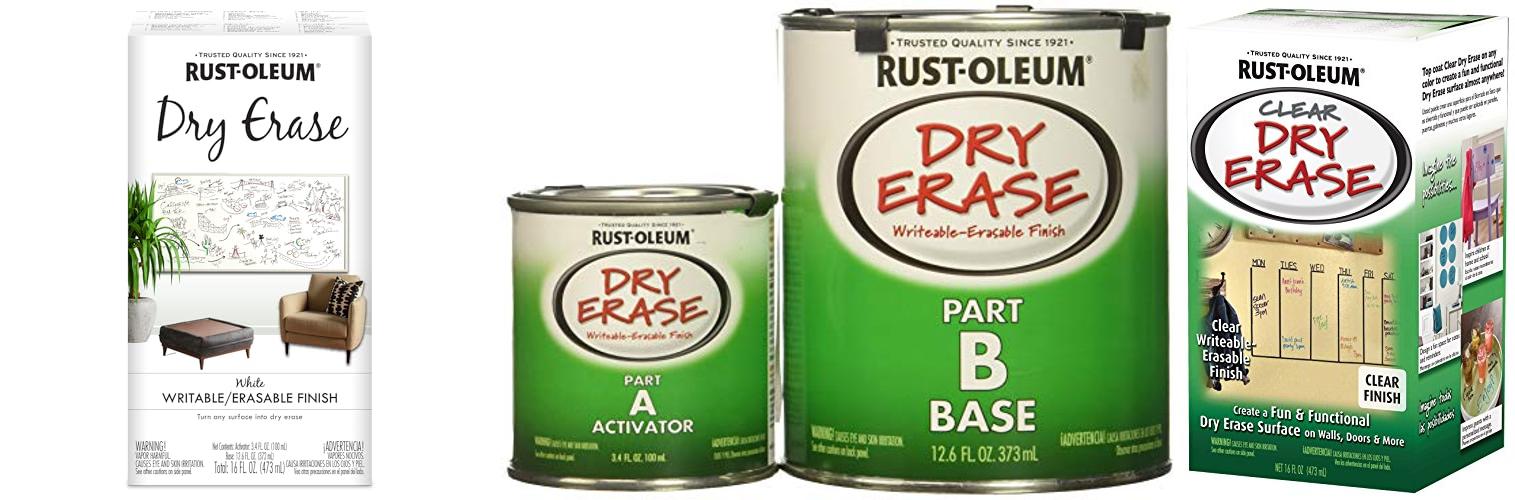
1. Rust-Oleum 241140 Specialty Dry Erase Brush-On Paint Kit

Rating: 8.7/10
Transform any surface into a dynamic dry-erase board with the Rust-Oleum 241140 Specialty Dry Erase Brush-On Paint Kit. This white paint kit lets you create a smooth, glossy, and writable surface on many different things around your home. It’s perfect for turning a plain wall into a message center, a cabinet door into a chore chart, or even a toy chest into a creative canvas. Get ready to brainstorm, plan, and doodle without limits!
What We Like:
- Versatile for indoor use on walls, doors, cabinets, and craft projects.
- Dries to the touch in just 1 hour, so you can start using it quickly.
- Easy cleanup with just soap and water.
- Covers a good area, up to 55 sq ft with two coats.
- Creates a super smooth, hard, and glossy finish.
- Makes any surface a writeable and erasable space.
What Could Be Improved:
- Requires mixing two parts (A and B) and must be used within 1 hour of mixing.
- Needs a full 3-day curing time for best results before writing on it.
- Instructions should be read carefully before starting.
This Rust-Oleum kit offers a fun and practical way to add a dry-erase surface to your space. It’s a simple project that brings big creative possibilities.
2. Rust-Oleum 241140-2PK Specialty Dry Erase Brush-On Paint Kit

Rating: 8.6/10
Transform any indoor surface into a reusable writing space with the Rust-Oleum 241140-2PK Specialty Dry Erase Brush-On Paint Kit. This kit comes with two 16 fl oz containers of white paint, perfect for adding a functional and fun element to your home or workspace. You can use it on walls, doors, cabinet fronts, and even craft projects!
What We Like:
- Versatile use on many surfaces like walls, doors, and craft projects.
- Dries quickly, so you can use it again soon.
- Easy cleanup with just soap and water.
- Covers a good area, up to 55 sq ft with two coats.
- Creates a smooth, shiny surface that is perfect for writing and erasing.
- Comes in a convenient pack of two.
What Could Be Improved:
- You need to mix parts A and B within 1 hour before applying.
- The surface needs to cure for 3 full days before you can write on it.
- It’s important to read all instructions before you start.
This dry erase paint kit offers a creative way to add functionality to your space. It’s a great project for adding a custom touch to your home or office.
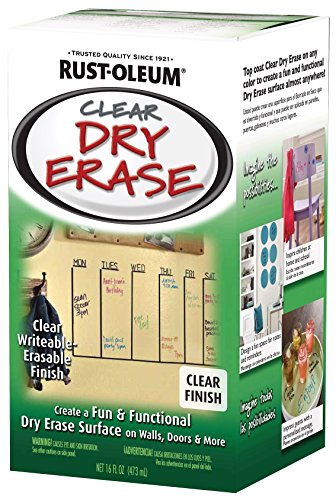
3. Rust-Oleum 284637 Specialty Dry Erase Brush-On Paint Kit
Rating: 8.6/10
Unleash your creativity with the Rust-Oleum 284637 Specialty Dry Erase Brush-On Paint Kit! This clear paint transforms almost any surface into a fun, usable dry-erase board. You can use it indoors on walls, doors, cabinets, and even toy chests. It’s also great for craft projects and making your own message centers or menu boards. The paint dries fast, so you can get back to using your new dry-erase surface quickly. Cleanup is a breeze with just soap and water.
What We Like:
- Versatile for many indoor projects like walls, doors, and crafts.
- Dries to the touch in just 1 hour for quick use.
- Easy cleanup with soap and water.
- Covers a good area, up to 55 sq ft with two coats.
- Creates a smooth, hard, and glossy finish that’s perfect for writing and erasing.
What Could Be Improved:
- You need to mix parts A and B carefully, and use it within 1 hour.
- The surface needs 3 full days to cure before you can write on it.
- Reading the instructions completely before starting is important for the best results.
This kit offers a fantastic way to add a functional and fun dry-erase surface to your home or craft projects. Just follow the steps, and you’ll have a durable, erasable space in no time.
4. Krylon Dry Erase Brush-On Paint

Rating: 8.7/10
Turn any surface into your personal whiteboard with Krylon Dry Erase Brush-On Paint! This white paint lets you create a smooth, erasable surface perfect for brainstorming, doodling, or leaving notes. It’s a simple way to add a functional twist to your home or office.
What We Like:
- Transforms surfaces into usable dry-erase boards.
- Works on many materials like wood, metal, plastic, and glass.
- Super easy to apply with just one coat.
- Dries quickly for fast project completion.
- Krylon is a trusted brand with a long history.
What Could Be Improved:
- Best results require specific temperature and humidity conditions.
- The quart size might be more than some small projects need.
This Krylon Dry Erase Paint makes creating your own dry-erase space simple and effective. It’s a fun and practical addition for classrooms, playrooms, or even your kitchen.
5. HAMIGAR Whiteboard Sticker for Wall 18″ x 79″ Dry Erase Board Wallpaper Peel and Stick

Rating: 8.5/10
Transform any flat surface into a functional whiteboard with the HAMIGAR Whiteboard Sticker. This large, 18″ x 79″ peel-and-stick wallpaper offers a budget-friendly and mess-free way to brainstorm, leave notes, or get creative. It’s a fantastic alternative to traditional, bulky whiteboards, especially for renters or those who prefer not to drill holes.
What We Like:
- Super easy to apply: Just peel and stick! The grid on the backing paper helps with straight cuts.
- No ghosting: The upgraded surface erases cleanly, even after a month of use. Remember to remove the protective film first!
- Cost-effective: Cut it to size and stick it anywhere to create affordable message boards.
- Perfect alternative to expensive whiteboards: It’s cheap, durable, easy to install, and avoids chalk dust.
- Versatile: Can be cut to fit any flat space, turning it into a handy note-taking area.
What Could Be Improved:
- Installation requires a clean and flat surface for best results.
- Using a dedicated whiteboard cleaner is recommended for optimal clarity and longevity.
This HAMIGAR whiteboard sticker is a smart and simple solution for adding whiteboard functionality to your home or office. It offers great value and convenience for everyday use.
The Ultimate Buying Guide: Transforming Your Walls into a Creative Canvas
Dry erase board paint lets you turn almost any smooth surface into a whiteboard. This paint is a fantastic way to add a functional and fun element to your home or office. You can use it for brainstorming, to-do lists, or even as a drawing surface for kids.
Key Features to Look For
When you’re shopping for dry erase board paint, keep these important features in mind:
- Smoothness: The paint should create a super smooth surface. This is what allows your dry erase markers to glide easily and wipe off without leaving streaks.
- Durability: Good dry erase paint lasts a long time. It shouldn’t scratch or fade easily, even with frequent use.
- Easy to Clean: This is the most important feature! The paint should wipe clean with a dry cloth or a damp cloth without ghosting (leaving faint marks behind).
- Low VOCs: Volatile Organic Compounds (VOCs) are chemicals that can be bad for your health and the environment. Look for paints labeled “low VOC” or “zero VOC” for a healthier choice.
- Color Options: While white is common, some brands offer different colors. Think about where you’ll use it and if a different color might fit your decor better.
Important Materials
Dry erase board paint is usually made from acrylic or epoxy resins.
- Acrylic-based paints: These are often water-based and easier to clean up. They tend to have lower VOCs and are generally a good choice for most projects.
- Epoxy-based paints: These are typically more durable and harder. They can be more resistant to staining and scratching. However, they sometimes have stronger odors and might require more careful application.
Factors That Improve or Reduce Quality
Several things can make your dry erase board paint work better or worse.
Factors That Improve Quality:
- Surface Preparation: This is HUGE! You need to start with a clean, smooth, and dry surface. Sanding down any bumps and cleaning thoroughly makes a big difference.
- Primer Application: Many dry erase paints recommend a primer. Using the right primer helps the paint stick better and creates a more even surface.
- Even Coats: Applying thin, even coats of paint is better than one thick coat. This helps prevent drips and ensures a smooth finish.
- Proper Curing Time: After painting, the paint needs time to harden and dry completely. This “curing” time is crucial for the paint to reach its best dry erase performance. Don’t rush this step!
Factors That Reduce Quality:
- Rough Surfaces: Painting over uneven walls or surfaces with texture will result in a poor dry erase surface. Marks will be hard to erase.
- Dirt and Grime: If the surface isn’t clean before painting, the paint might not stick well, and the dry erase surface won’t be smooth.
- Skipping the Primer: Not using a primer when recommended can lead to the paint not adhering properly or the surface becoming stained easily.
- Using the Wrong Markers: Some permanent markers can stain the dry erase surface. Stick to good quality dry erase markers.
User Experience and Use Cases
People love dry erase board paint because it’s so versatile.
- For Students and Creatives: Students can use it on their bedroom walls for homework, studying, or drawing. Artists and designers can create large brainstorming areas.
- In the Kitchen: Hang it in your kitchen for grocery lists, meal planning, or fun notes to family members.
- In the Office: Transform a conference room wall into a collaborative workspace for meetings and idea generation.
- For Kids’ Rooms: It’s a fantastic way to give kids a dedicated space to express their creativity without making a mess on regular walls.
- Organization: Use it in garages or workshops for project notes and to-do lists.
The user experience is generally positive. Most people find it easy to apply if they follow the instructions carefully. The satisfaction of wiping a clean slate for new ideas is a big plus.
Frequently Asked Questions (FAQ)
Q: What kind of surface can I paint with dry erase board paint?
A: You can paint on most smooth surfaces. This includes drywall, wood, metal, and even some laminate. Make sure the surface is clean and smooth first.
Q: Do I need a special primer?
A: Many dry erase paints recommend a specific primer. Always check the product instructions. Using the right primer helps the paint stick and creates a better surface.
Q: How many coats of dry erase paint should I apply?
A: Usually, two to three thin coats are recommended. This gives you a smooth and even finish.
Q: How long does it take for the paint to cure?
A: Curing times vary by brand. It can take anywhere from 3 to 7 days. Read the paint can for exact instructions.
Q: What happens if I use a permanent marker on the paint?
A: Permanent markers can stain the dry erase surface. If this happens, try using rubbing alcohol or a special dry erase cleaner to remove the mark.
Q: Can I paint over the dry erase paint later?
A: Yes, you can usually paint over dry erase paint with regular latex paint. However, it might take a few coats to cover.
Q: Is dry erase paint safe for children’s rooms?
A: Look for low VOC or zero VOC options. These are safer for indoor air quality.
Q: How do I clean the dry erase board?
A: For everyday erasing, use a soft, dry cloth. For stubborn marks, a damp cloth with a little water or a mild cleaner works well. Avoid harsh chemicals.
Q: Can I get dry erase paint in colors other than white?
A: Yes, some brands offer dry erase paint in various colors. This allows you to match your decor.
Q: Will the paint scratch easily?
A: The durability depends on the type of paint and how well the surface was prepared. Epoxy-based paints are generally more scratch-resistant than acrylic ones.
In conclusion, every product has unique features and benefits. We hope this review helps you decide if it meets your needs. An informed choice ensures the best experience.
If you have any questions or feedback, please share them in the comments. Your input helps everyone. Thank you for reading.
Hi, I’m Sean Kernan, the voice behind esteeringwheel.com.. With a passion for all things automotive, I created this platform to share my journey, insights, and expertise about cars. From the latest tech to timeless driving tips, my goal is to help fellow enthusiasts and everyday drivers navigate the fascinating world of automobiles. Welcome to my corner of the road—let’s steer toward knowledge and discovery together!